
A strong guest post outline is the difference between an article that gets accepted on the first try and one that comes back with three rounds of edits. Before you write a single sentence of your guest post, mapping out the structure helps you stay focused, cover what the editor actually wants, and finish faster. This guide walks through how to write a guest post outline from scratch, section by section, with a simple template you can reuse for every pitch.
Why You Need an Outline Before You Start Writing
Jumping straight into a draft feels productive, but it usually means rewriting large chunks later because the article drifts off-topic or misses a point the editor expected. An outline forces you to plan the argument first. It also makes the writing itself much faster, since you’re filling in sections instead of deciding what comes next while you write.
An outline is just as useful for the editor relationship. Some publications ask you to submit an outline before you write the full piece, so they can approve the angle early and save both sides time.
Step 1: Study the Target Publication First
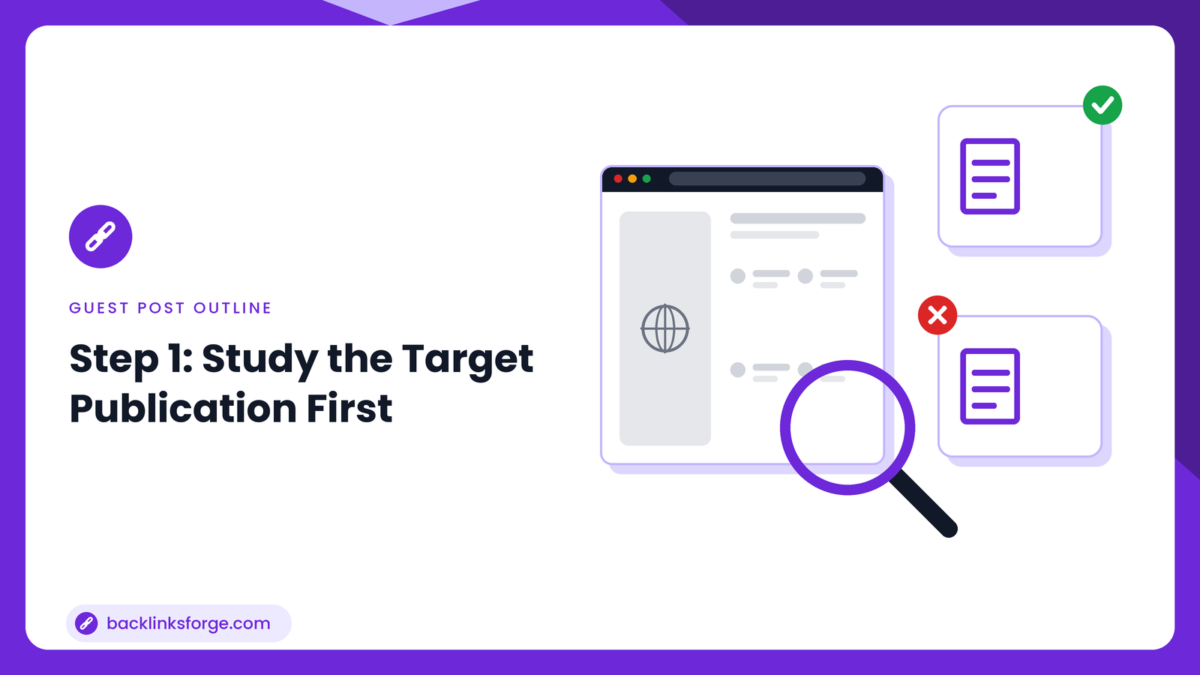
Before you outline anything, read five or six recent articles on the site you’re pitching. Notice the tone, the average length, how headings are used, and whether posts lean heavily on data, personal experience, or how-to steps. Check the site’s contributor or editorial guidelines page for formatting rules, since many publications specify heading levels, word count, and whether links are allowed.
Skipping this step is the most common reason a guest post outline gets rejected. An outline built for a listicle-style blog won’t fit a publication that only runs long-form, narrative pieces.
Step 2: Nail Down One Clear Angle
A guest post outline needs a single, specific angle, not a broad topic. “Content marketing tips” is a topic. “Why most B2B content calendars fail in the first 90 days” is an angle. Write your working title first, since it forces you to commit to one argument before you start listing sections.
Keep your title informational and specific. If you’re unsure it’s sharp enough, ask whether a reader could guess what the article covers just from the title. If not, narrow it further.
Step 3: Draft Your Working Headline and Introduction Notes
Sketch the headline and one or two lines describing how you’ll open the piece. Most strong guest post introductions do one of the following:
- Start with a relatable problem the target audience faces.
- Lead with a surprising fact or statistic that reframes the topic.
- Open with a short example or scenario the reader will recognize.
You don’t need full sentences yet. A short note like “open with the stat on guest post rejection rates” is enough at the outline stage.
Step 4: List Your Main Sections as Headings
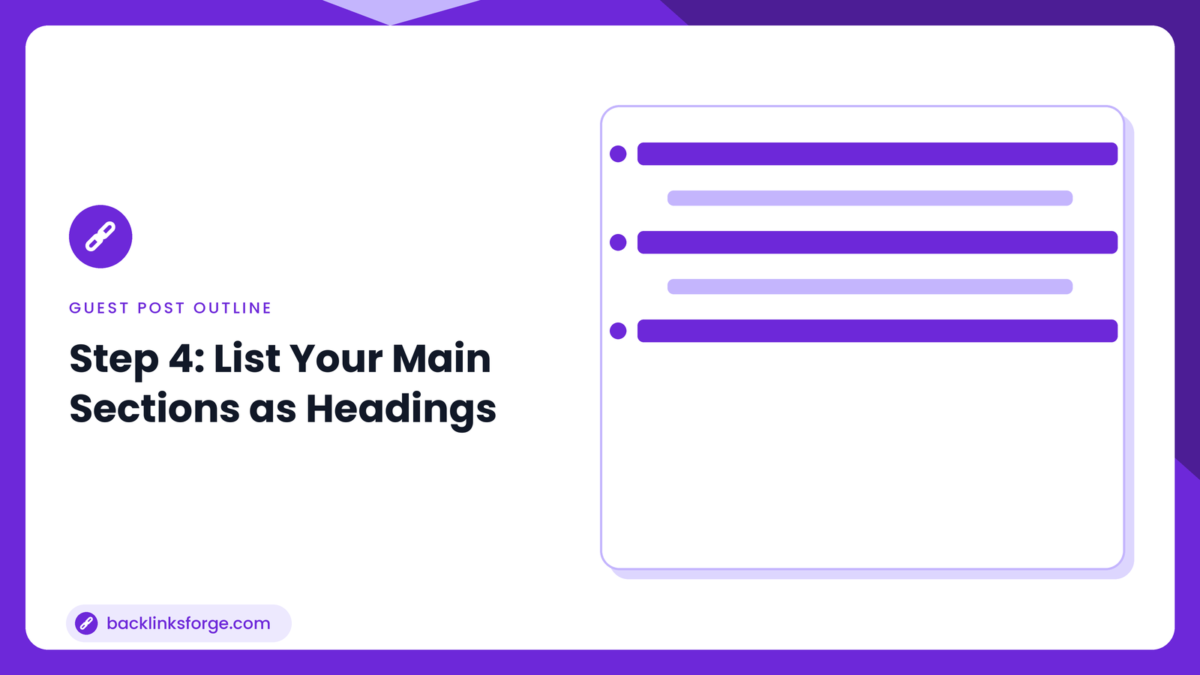
This is the core of the outline. Break your angle into three to six main sections, written as H2 headings. Each should represent one complete idea or step, not an overlapping sub-point. For a how-to article, this usually means one heading per step. For an opinion piece, it means one heading per supporting argument.
Under each H2, add one line naming what that section will prove or explain. This keeps you from padding a section with information that doesn’t belong there.
Add H3 Subheadings Where a Section Needs Them
If a main section covers more than one idea, break it into H3 subheadings. This is especially useful for sections that compare options, list examples, or walk through sub-steps. Keeping headings specific also makes the finished post easier to skim, which most editors expect from web content.
Step 5: Note Supporting Evidence Under Each Heading
Next to each heading, jot down what will back it up: a statistic, a short example, a quote you plan to source, or a personal case study from your own work. Guest posts that lean only on opinion tend to get sent back for revisions, while ones with concrete evidence under every section usually clear editorial review faster.
If a section has nothing solid to support it, that’s a sign to either research it before writing or cut it from the outline.
Step 6: Plan Your Internal Links and Mentions
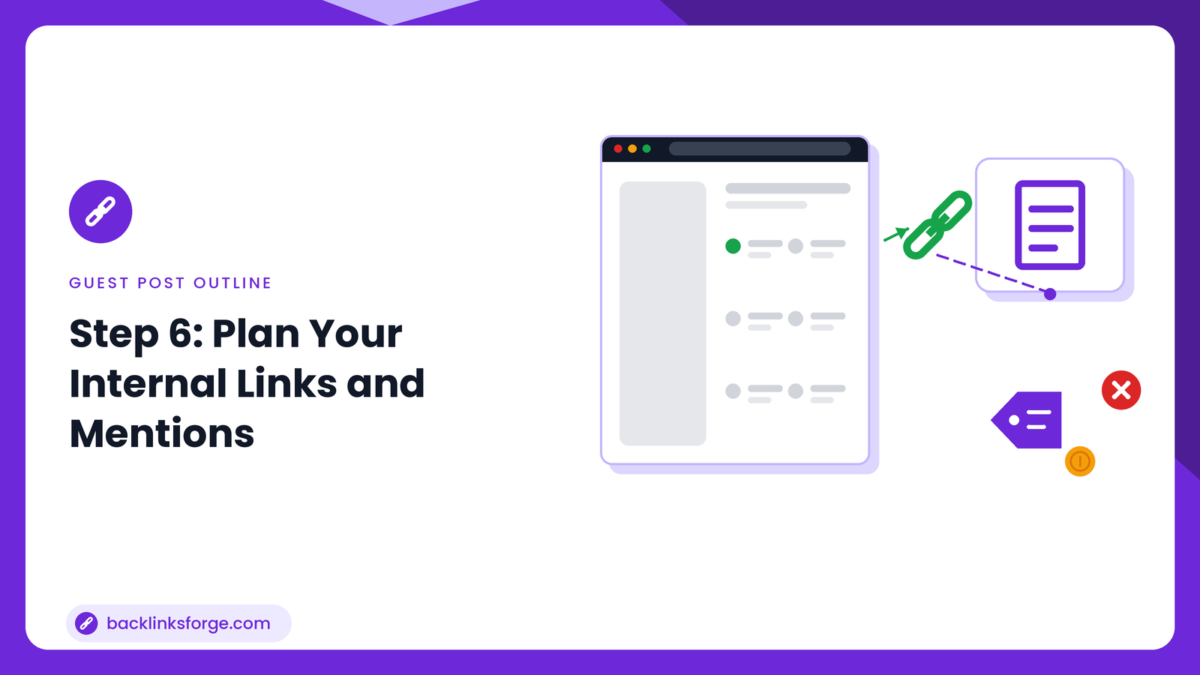
Many publications allow one or two contextual links back to your own site, usually inside the body rather than the introduction or conclusion. Decide now which page you want to link to and under which heading it fits naturally. Trying to force a link into an unrelated section during the final draft is what makes guest post links look promotional instead of helpful. If you’d rather have this handled for you end-to-end, a professional guest post link building service can pitch, write, and place these links for you.
Keep any brand or company mentions light. Most editors will cut a guest post that reads like an advertisement, so mentions should support a point, not sell a product.
Step 7: Outline Your Conclusion and Call to Action
Your closing section should summarize the core takeaway in one or two lines and, where the publication allows it, point the reader toward a next step. That might be a related resource, a question to consider, or a soft mention of your own site. Check the publication’s guidelines here too, since some strip author-written calls to action from the body and only allow a link in the bio.
Step 8: Add Your Author Bio Notes
Most guest post platforms give you a two-to-three sentence bio at the end of the article, often with one link. Draft this early so it’s ready when you submit, and keep it factual: your role, your company, and what you help people do. Google’s Search Essentials recommend letting links read naturally rather than stuffing them with exact-match keywords, so keep your bio link branded and simple.
Guest Post Outline Template
Use this structure as a starting point for any pitch:
- Working title: one clear, specific angle
- Introduction notes: hook style and 1–2 opening lines
- H2 Section 1: main point + supporting evidence
- H2 Section 2: main point + supporting evidence (add H3s if needed)
- H2 Section 3: main point + supporting evidence
- H2 Section 4 (optional): main point + supporting evidence
- Internal link plan: which page, under which heading
- Conclusion notes: key takeaway + call to action
- Author bio draft: 2–3 sentences + one link
Common Guest Post Outline Mistakes to Avoid
- Pitching a topic instead of an angle. Editors reject vague ideas faster than specific ones.
- Copying another site’s structure exactly. Match the tone, not the content.
- Overloading the outline with headings. Three to six solid sections beat ten thin ones.
- Forgetting the publication’s word count and formatting rules.
- Planning links before checking if the site allows them.
Frequently Asked Questions
How long should a guest post outline be?
A single page is usually enough: a title, five to eight headings, and a line or two of notes under each. It only needs to be detailed enough for you, or an editor, to follow the plan.
Should I send my outline to the editor before writing?
Only if the publication asks for one, or if the pitch email invites it. Otherwise, send a short pitch first and outline the full piece once the topic is approved.
Can I reuse the same outline structure for every guest post?
The template above works as a starting point, but adjust the number of sections and the tone to match each publication’s style guide.
Final Thoughts
A clear outline turns guest posting from a guessing game into a repeatable process. Study the publication, commit to one angle, plan your sections and evidence, and the actual writing becomes far easier. Keep a copy of this template and adapt it for every pitch you send.